 Skip to content
A Step-by-Step Guide to Cleaning Your Fountain Pen
1. Introduction: The importance of proper fountain pen maintenance
Cleaning your fountain pen is an essential task that ensures its longevity and optimal performance. However, it can be a daunting process if you're not familiar with the steps involved. That's why we have created the ultimate guide to cleaning your fountain pen, providing you with a comprehensive, step-by-step approach. From gathering the necessary supplies to preparing your workspace, disassembling the pen, flushing the nib and feed, cleaning the barrel and cap, to drying the pen – we cover it all. Follow our guide to keep your fountain pen in pristine condition for years to come.
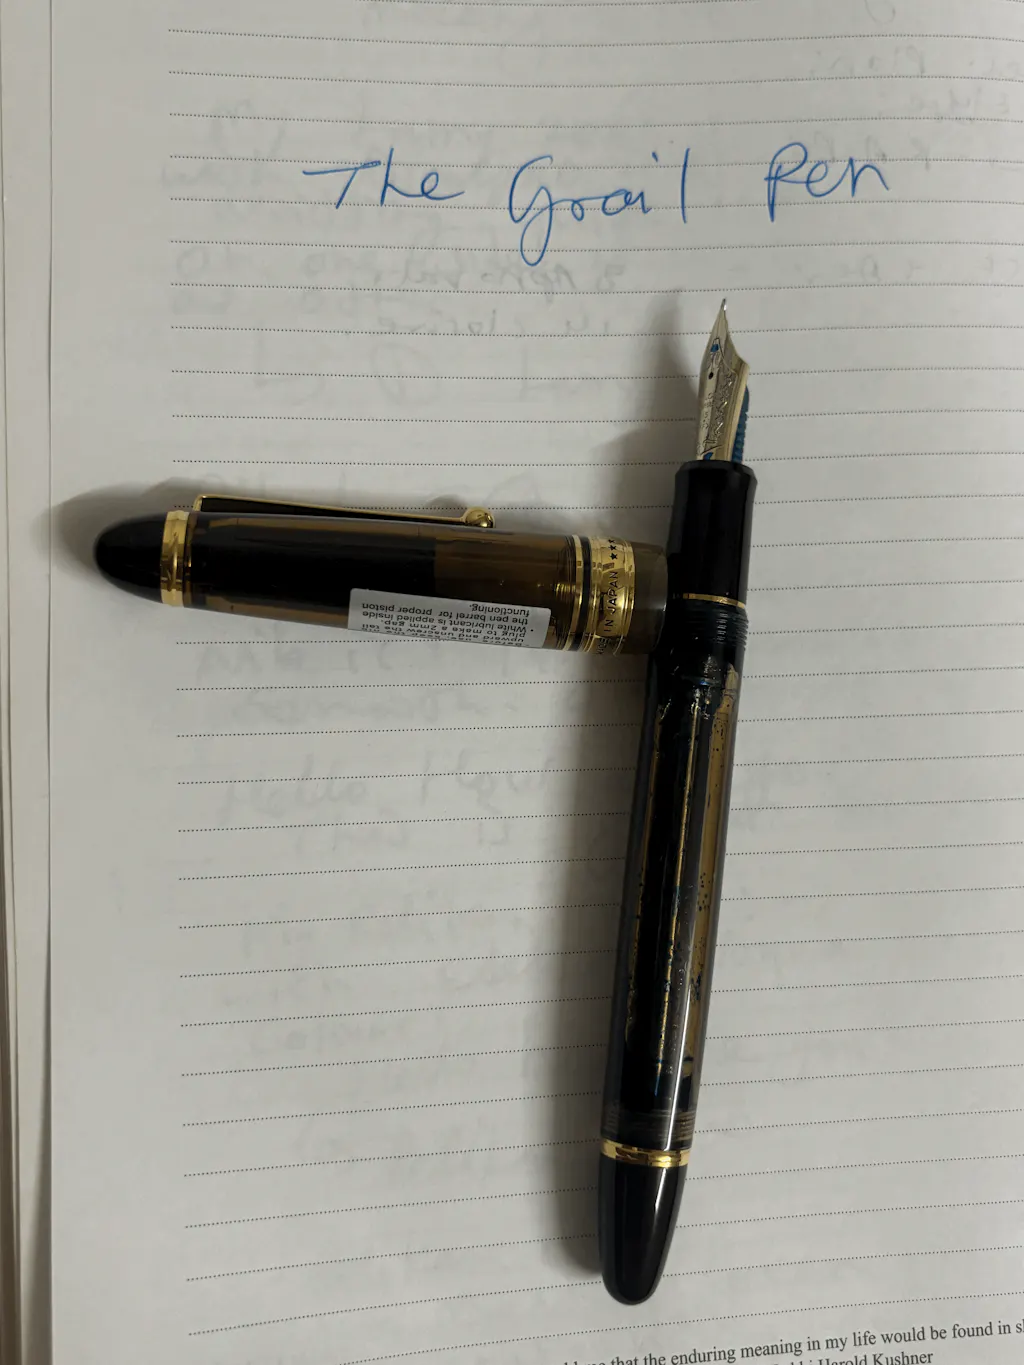
2. Understanding the anatomy of a fountain pen
Before we delve into the step-by-step cleaning process, it's crucial to have a solid understanding of the various parts that make up a fountain pen. Familiarizing yourself with the anatomy not only helps you clean your pen more efficiently but also enables you to troubleshoot any issues that may arise.
A typical fountain pen consists of several key components:
- Nib: The metal tip that contacts the paper and releases ink.
- Feed: The plastic or ebonite piece that holds and channels ink to the nib.
- Barrel: The main body of the pen that holds the ink reservoir.
- Cap: The removable cover that protects the nib.
- Clip: The metal attachment that allows you to secure the pen in your pocket or organizer.
- Converter or Cartridge: The mechanism used to fill the pen with ink.
Understanding these parts will give you a greater appreciation for the inner workings of your fountain pen and make the cleaning process more effective. In the next section, we will begin the cleaning process by gathering the necessary supplies.
3. Step 1: Disassembling your fountain pen
Now that you have a good understanding of the anatomy of a fountain pen, it's time to start the cleaning process. The first step is to carefully disassemble your pen. This allows you to clean each individual part thoroughly and ensure that no ink residue is left behind.
Begin by removing the cap from the barrel. Gently twist or pull it off, depending on the design of your pen. Next, unscrew the barrel from the grip section or remove any other components that hold it in place. Be cautious and take your time to avoid damaging any delicate parts.
Once you have successfully disassembled your fountain pen, it's time to move on to the next step of the cleaning process. Stay tuned for Step 2: Preparing the cleaning solution.
4. Step 2: Cleaning the nib and feed
Now that you have successfully disassembled your fountain pen, it's time to focus on cleaning the nib and feed. This is a crucial step as it ensures that ink flow remains smooth and consistent.
Start by rinsing the nib and feed under lukewarm water. Use a gentle stream to wash away any residual ink. Be careful not to use hot water, as it can damage the delicate parts of your pen.
Next, you can use a bulb syringe or a cleaning solution specifically designed for fountain pens. Gently flush the nib and feed to remove any stubborn ink residue. Pay attention to any clogged areas and make sure to thoroughly clean them.
After cleaning, make sure to dry the nib and feed with a clean, lint-free cloth. Avoid using tissues or paper towels that may leave tiny fibres behind.
With Step 2 completed, you are one step closer to having a sparkling clean fountain pen. Stay tuned for Step 3: Cleaning the barrel and cap, where we will dive into the next phase of the cleaning process.
5. Step 3: Flushing the barrel and converter
Congratulations on successfully cleaning your nib and feed! Now, let's move on to the next important step in the cleaning process - flushing the barrel and converter.
To begin, remove the converter from your fountain pen if it has one. If you are using a cartridge, remove it as well. Give the barrel a quick rinse with lukewarm water to remove any residual ink. Ensure that the water runs clear before proceeding.
Next, fill a container with clean water - preferably distilled or filtered water to avoid any mineral deposits. Submerge the barrel and converter in the water and gently agitate them to dislodge any ink residue. Allow them to soak for a few minutes.
After soaking, use a bulb syringe or a fountain pen cleaning solution to flush out the barrel and converter thoroughly. Repeat this process until the water runs clear and no traces of ink remain.
Once done, carefully dry the barrel and converter with a clean, lint-free cloth. Ensure that they are completely dry before reassembling your fountain pen.
By following these steps, you will have effectively cleaned your fountain pen inside and out. In the final section, we will discuss proper maintenance techniques to keep your fountain pen in excellent condition.
6. Step 4: Cleaning the pen cap and body
Now that you have thoroughly cleaned the nib, feed, barrel, and converter of your fountain pen, it's essential to devote some attention to the pen cap and body. Although these parts may not come into direct contact with ink, they can still accumulate dirt, dust, and oils over time, affecting the overall look and performance of your pen.
To clean the pen cap, start by unscrewing it from the body. Gently wipe the inside of the cap using a soft cloth or cotton swab. Pay extra attention to the lip or rim of the cap, as this area tends to collect debris. If necessary, you can also use a mild soap or a diluted solution of ammonia and water to remove stubborn stains or discoloration. However, make sure to rinse the cap thoroughly and dry it completely before reattaching it to the pen body.
Moving on to the pen body, use a soft cloth or a microfiber cloth to wipe away any dust or fingerprints. If your pen has a lacquered or metal body, you can use a non-abrasive polishing cloth to restore its shine. For pens made from resin or acrylic, simply wiping with a soft cloth should suffice.
By cleaning the pen cap and body along with the nib, feed, barrel, and converter, you are ensuring that your fountain pen remains in optimal condition. In the final section of this guide, we will discuss some maintenance techniques to help care for your fountain pen and extend its lifespan.
7. Step 5: Properly storing your fountain pen
Congratulations! You have successfully cleaned all the essential parts of your fountain pen, but the cleaning process doesn't end there. How you store your pen plays a crucial role in maintaining its performance and preventing damage.
First and foremost, make sure to remove any remaining ink from the nib and converter before storing your pen. This will prevent the ink from drying up and clogging the feed. Using a soft cloth or tissue, gently blot the nib until it is dry.
Next, ensure that your pen is completely assembled and capped before storing it. This will protect the nib from exposure to air, dust, and humidity, which can cause ink to evaporate and the nib to become dry.
When selecting a storage option, it's important to choose a place that is cool, dry, and away from direct sunlight. Avoid placing your pen in extreme temperature environments, as this can cause the materials to expand or contract, leading to potential damage.
Consider investing in a pen case or a pen stand to keep your fountain pen securely stored and easily accessible. These storage solutions not only prevent scratches and damage, but they also provide a convenient and organized way to display and use your pen collection.
By following these steps, you can ensure that your fountain pen stays in optimal condition and ready for use whenever inspiration strikes.
In the final section of this guide, we will cover some additional tips and tricks to help you maintain your fountain pen and make it last for years to come. Stay tuned for the last part!
8. Tips for maintaining the ink flow and preventing clogs
Now that you have learned how to clean and store your fountain pen properly, it's time to dive into some additional tips for maintaining the ink flow and preventing clogs.
1. Use your fountain pen regularly: One of the best ways to prevent clogs is to use your pen regularly. The more you use it, the less likely the ink is to dry up and clog the feed.
2. Choose the right ink: Not all inks are created equal. Some inks have a higher viscosity, which can lead to clogs. Stick to reputable brands and consider using inks specifically designed for fountain pens.
3. Flush your pen regularly: Even if you haven't used your pen in a while, it's a good idea to flush it with water every few weeks to remove any ink residue that could potentially cause clogs.
4. Avoid using sticky or shimmering inks: While they may look tempting, inks with particles or additives can clog the feed more easily. Stick to traditional inks for optimum performance.
5. Store your pen vertically: Storing your pen with the nib pointing upwards can help prevent gravity from causing the ink to settle and potentially clog the feed.
By following these tips, you can ensure a smooth and hassle-free writing experience with your fountain pen. In the final section of this guide, we will discuss some common troubleshooting issues and how to fix them. Stay tuned!
9. Troubleshooting common fountain pen issues
While maintaining your fountain pen is important in preventing issues, it's inevitable that you may encounter some problems along the way. Here are some common fountain pen issues and how to troubleshoot them:
- Skipping or inconsistent ink flow: If you notice that your pen is skipping while writing or the ink flow seems inconsistent, there may be a blockage in the feed. Try flushing the pen with water or using a pen cleaner solution to remove any debris or dried ink.
- Scratchy nib: A scratchy nib can make writing uncomfortable and affect the quality of your writing. This issue is often caused by misalignment of the nib tines. Gently adjust the tines using a brass shim or seek assistance from a professional nibmeister if needed.
- Ink leakage: Ink leakage can be caused by various factors such as overfilling the pen, improper sealing, or a damaged converter or cartridge. Check for any cracks or damage in the pen body, replace the converter or cartridge if necessary, and ensure proper sealing when filling your pen with ink.
- Nib creep: Nib creep refers to the presence of ink on the nib, usually due to the ink reaching areas it shouldn't. While nib creep doesn't affect the pen's performance, it can be unsightly. To minimize nib creep, choose inks that are less prone to creeping and ensure proper sealing.
By understanding these common issues and how to troubleshoot them, you'll be able to overcome any fountain pen challenges that may arise. With regular maintenance and proper care, your fountain pen will continue to bring you a pleasurable writing experience for years to come.
10. Conclusion: The satisfaction of a well-maintained fountain pen
In this comprehensive guide, we have explored the step-by-step approach to cleaning your fountain pen to ensure its optimal performance. We have also delved into common issues that fountain pen users may encounter and provided troubleshooting techniques to overcome these challenges.
Maintaining your fountain pen is not only essential for its longevity but also for the quality of your writing experience. By regularly cleaning your pen and addressing any issues promptly, you can ensure a smooth ink flow, prevent leakage, and eliminate potential discomfort while writing.
Remember, the satisfaction of owning a fountain pen goes beyond the act of writing. It is in the intricate design, the craftsmanship, and the legacy that each pen holds. By taking care of your pen, you are not only preserving its value but also creating a lasting relationship with it.
With the knowledge and techniques shared in this guide, you can confidently embrace the world of fountain pens and enjoy the unparalleled joy of writing with your cherished instrument. Happy writing!


Leave a comment